Tag Archives: Craft

Happy Haunted Halloween Countdown…

IMG_2565

One of my favorite creepy countdown boxes.

Nevada! You have to LOVE a state that joined the Union in the middle of the Civil War on Halloween!!!!  As you can see, we Nevadans take Halloween very seriously.  In fact, it’s a state HOLIDAY!!!!

Years ago at Pottery Barn Kids, I saw this really neat Halloween Countdown Calendar.  Really, I should have bought it.  It was a wooden haunted house with little doors and windows that opened so you could stuff treasures and/or candy inside to countdown the days until Halloween.  I was being cheap at the time and decided to pass it by.  BIG mistake, because all these years later, I am still dreaming of it.

I started searching the Net for something similar and really did not hit on anything that I really liked.  Or sure, they had a few items on Etsy and I did look at this year’s Pottery Barn Calendar (but it was fabric and you just move a little a pumpkin or ghost or some such thing to a new pocket each day).

IMG_2560Now to make our own!  Cinco and the Princess were immediately up for the challenge.  They LOVE to find old junk and try to make it into a craft.  Our first stop was Michael’s to see what we could get in the way of decorative items and or boxes to put our Halloween treats in.  I looked up DIY Christmas advent calendars to get some ideas. Several were very elaborate and well beyond our skill levels.  But, one suggested getting little wedding party favor boxes and stuffing those.  I liked this idea and was going to act on it.  But, then Queen Gram intervened.

Thank goodness we brought Queen Gram with us to the store because she found my new favorite toy a box maker!   IMG_2527
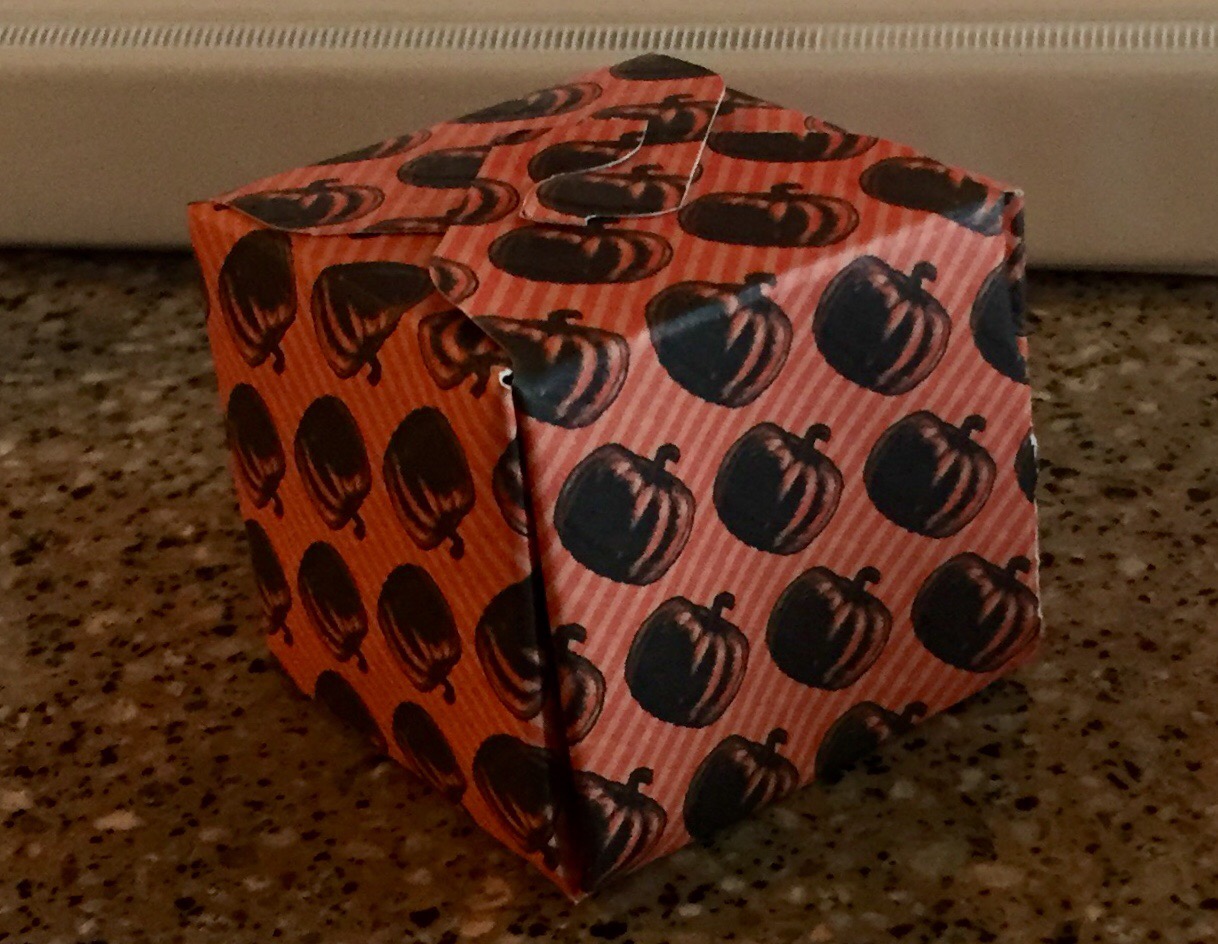
Okay, super crafters may already know about this. But, I just found out about it and I LOVE IT.  We were able to make boxes in several sizes using some fun, decorative Halloween paper!

 
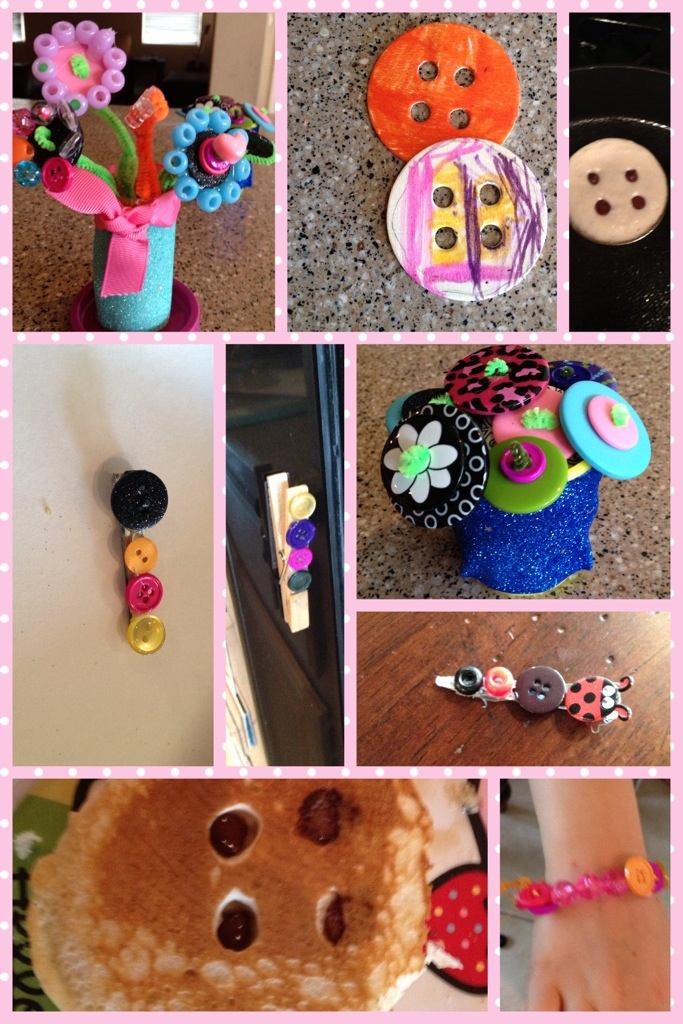
A few of my favorite boxes included:

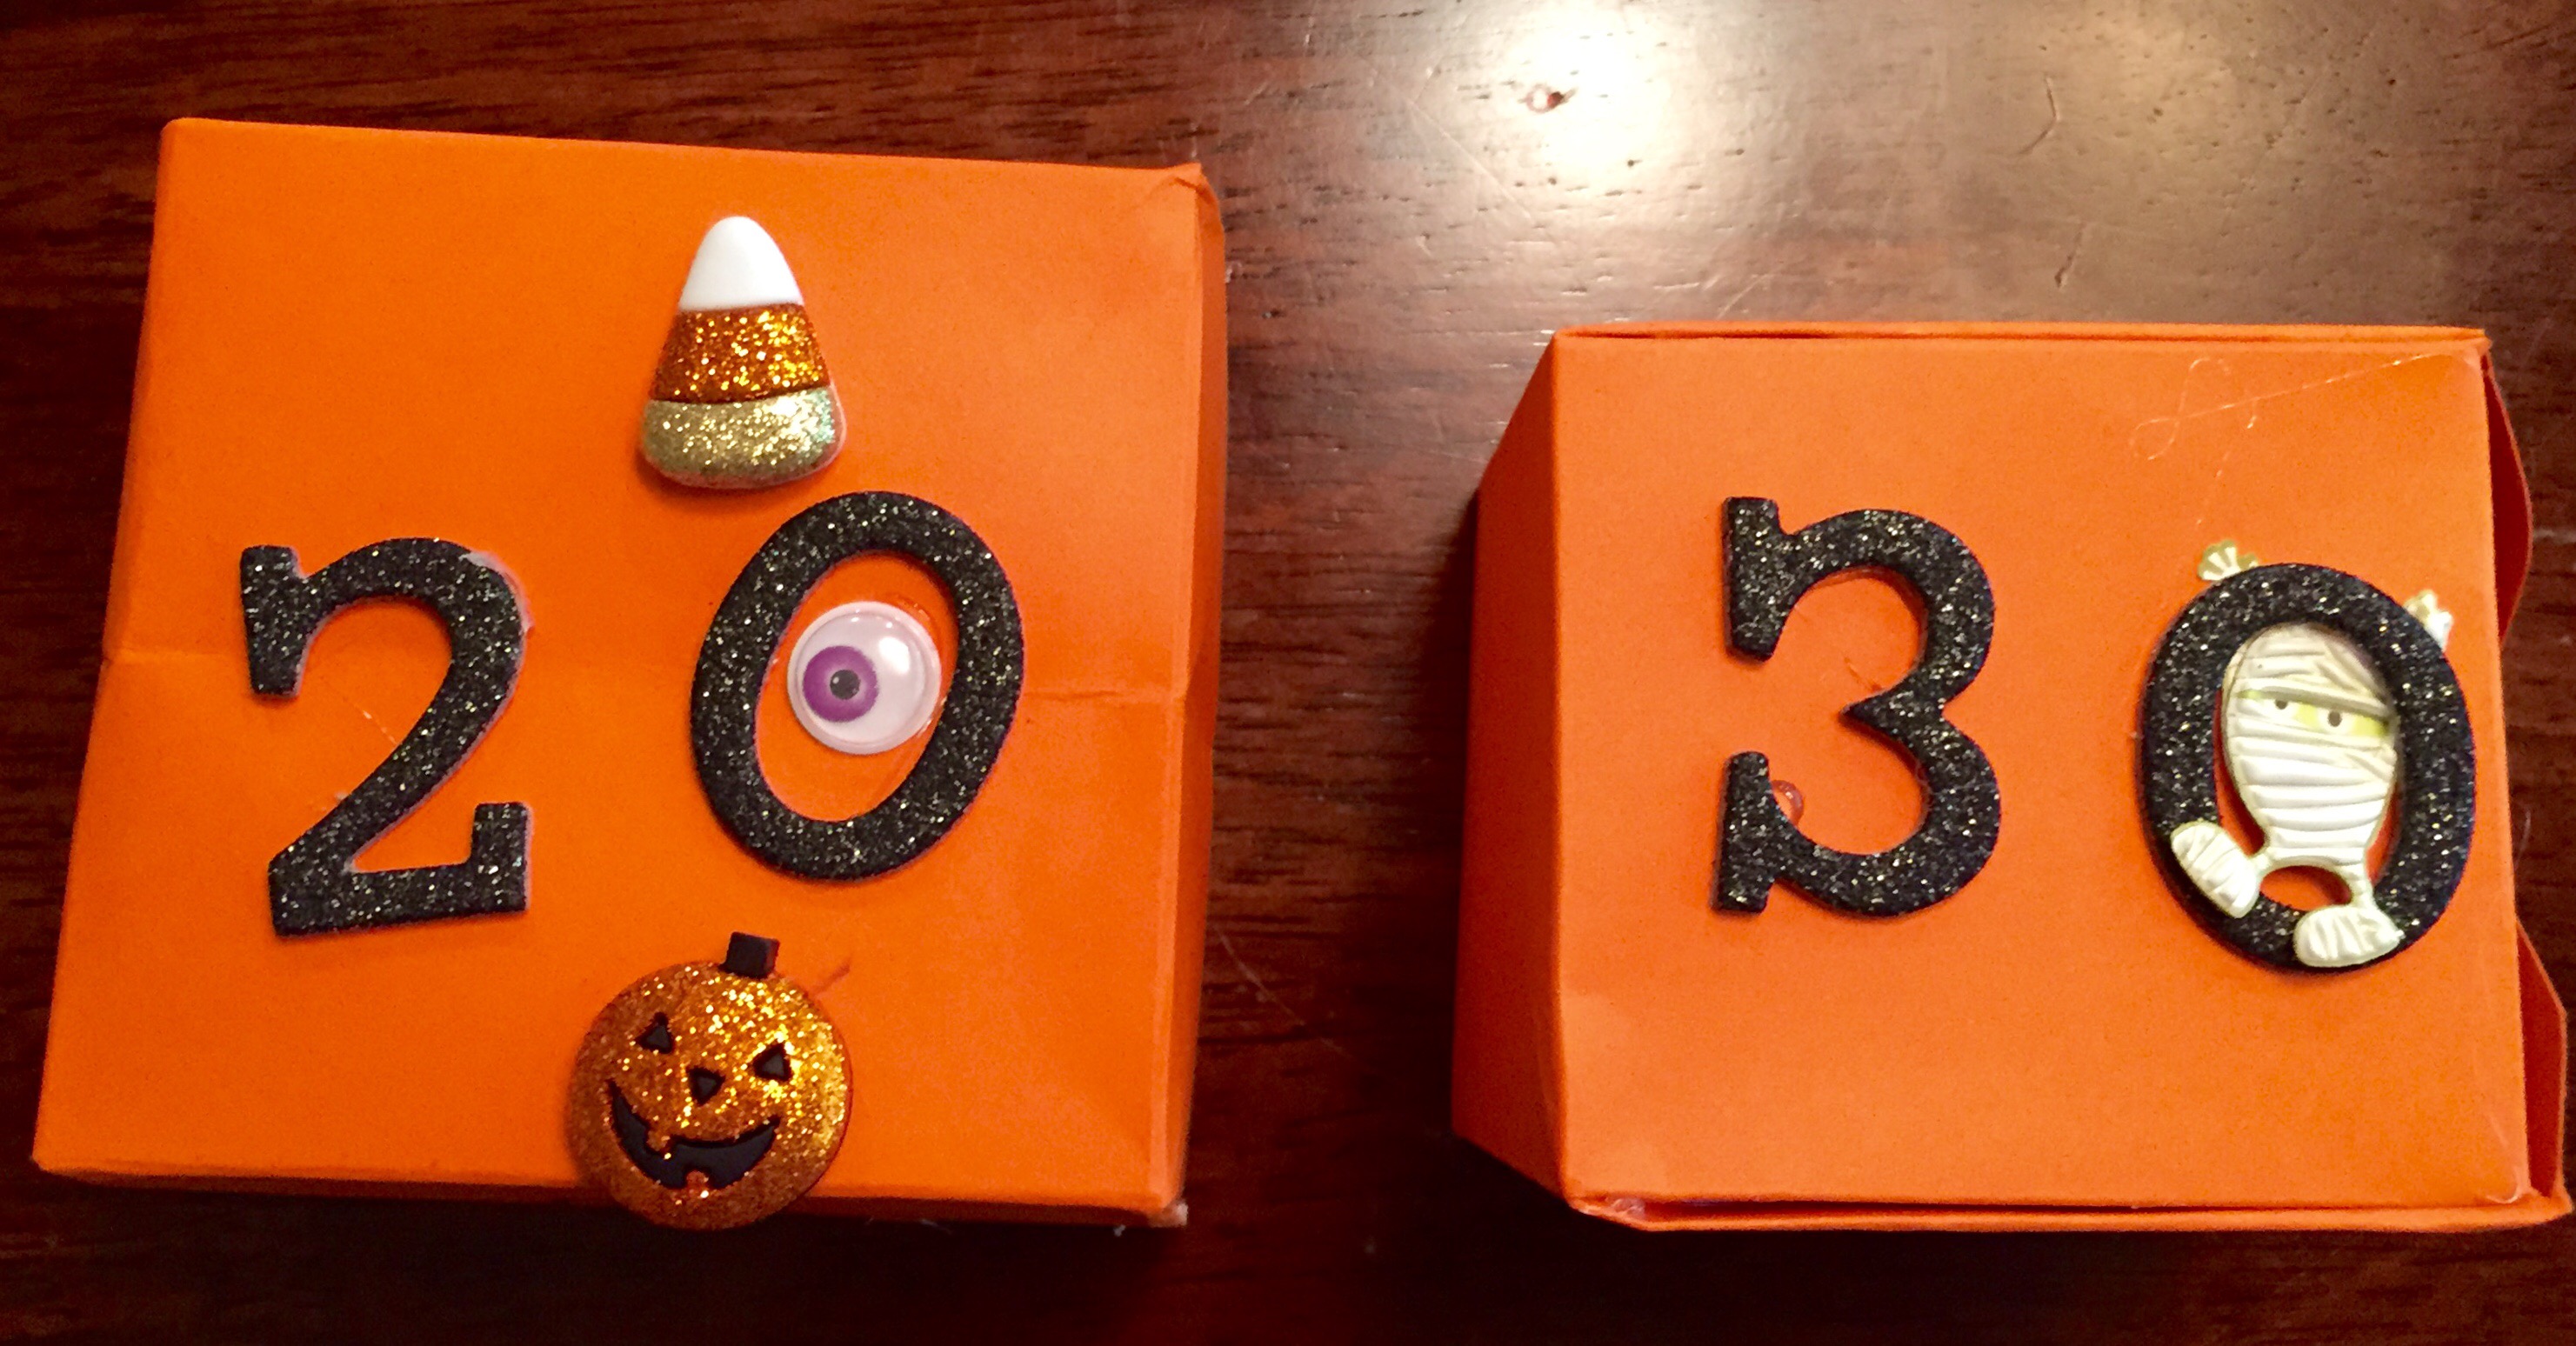
Love the Creepy Google Eye and the Mummy coming out of the zeros!!!

IMG_2533

Haunted House designed by Cinco!

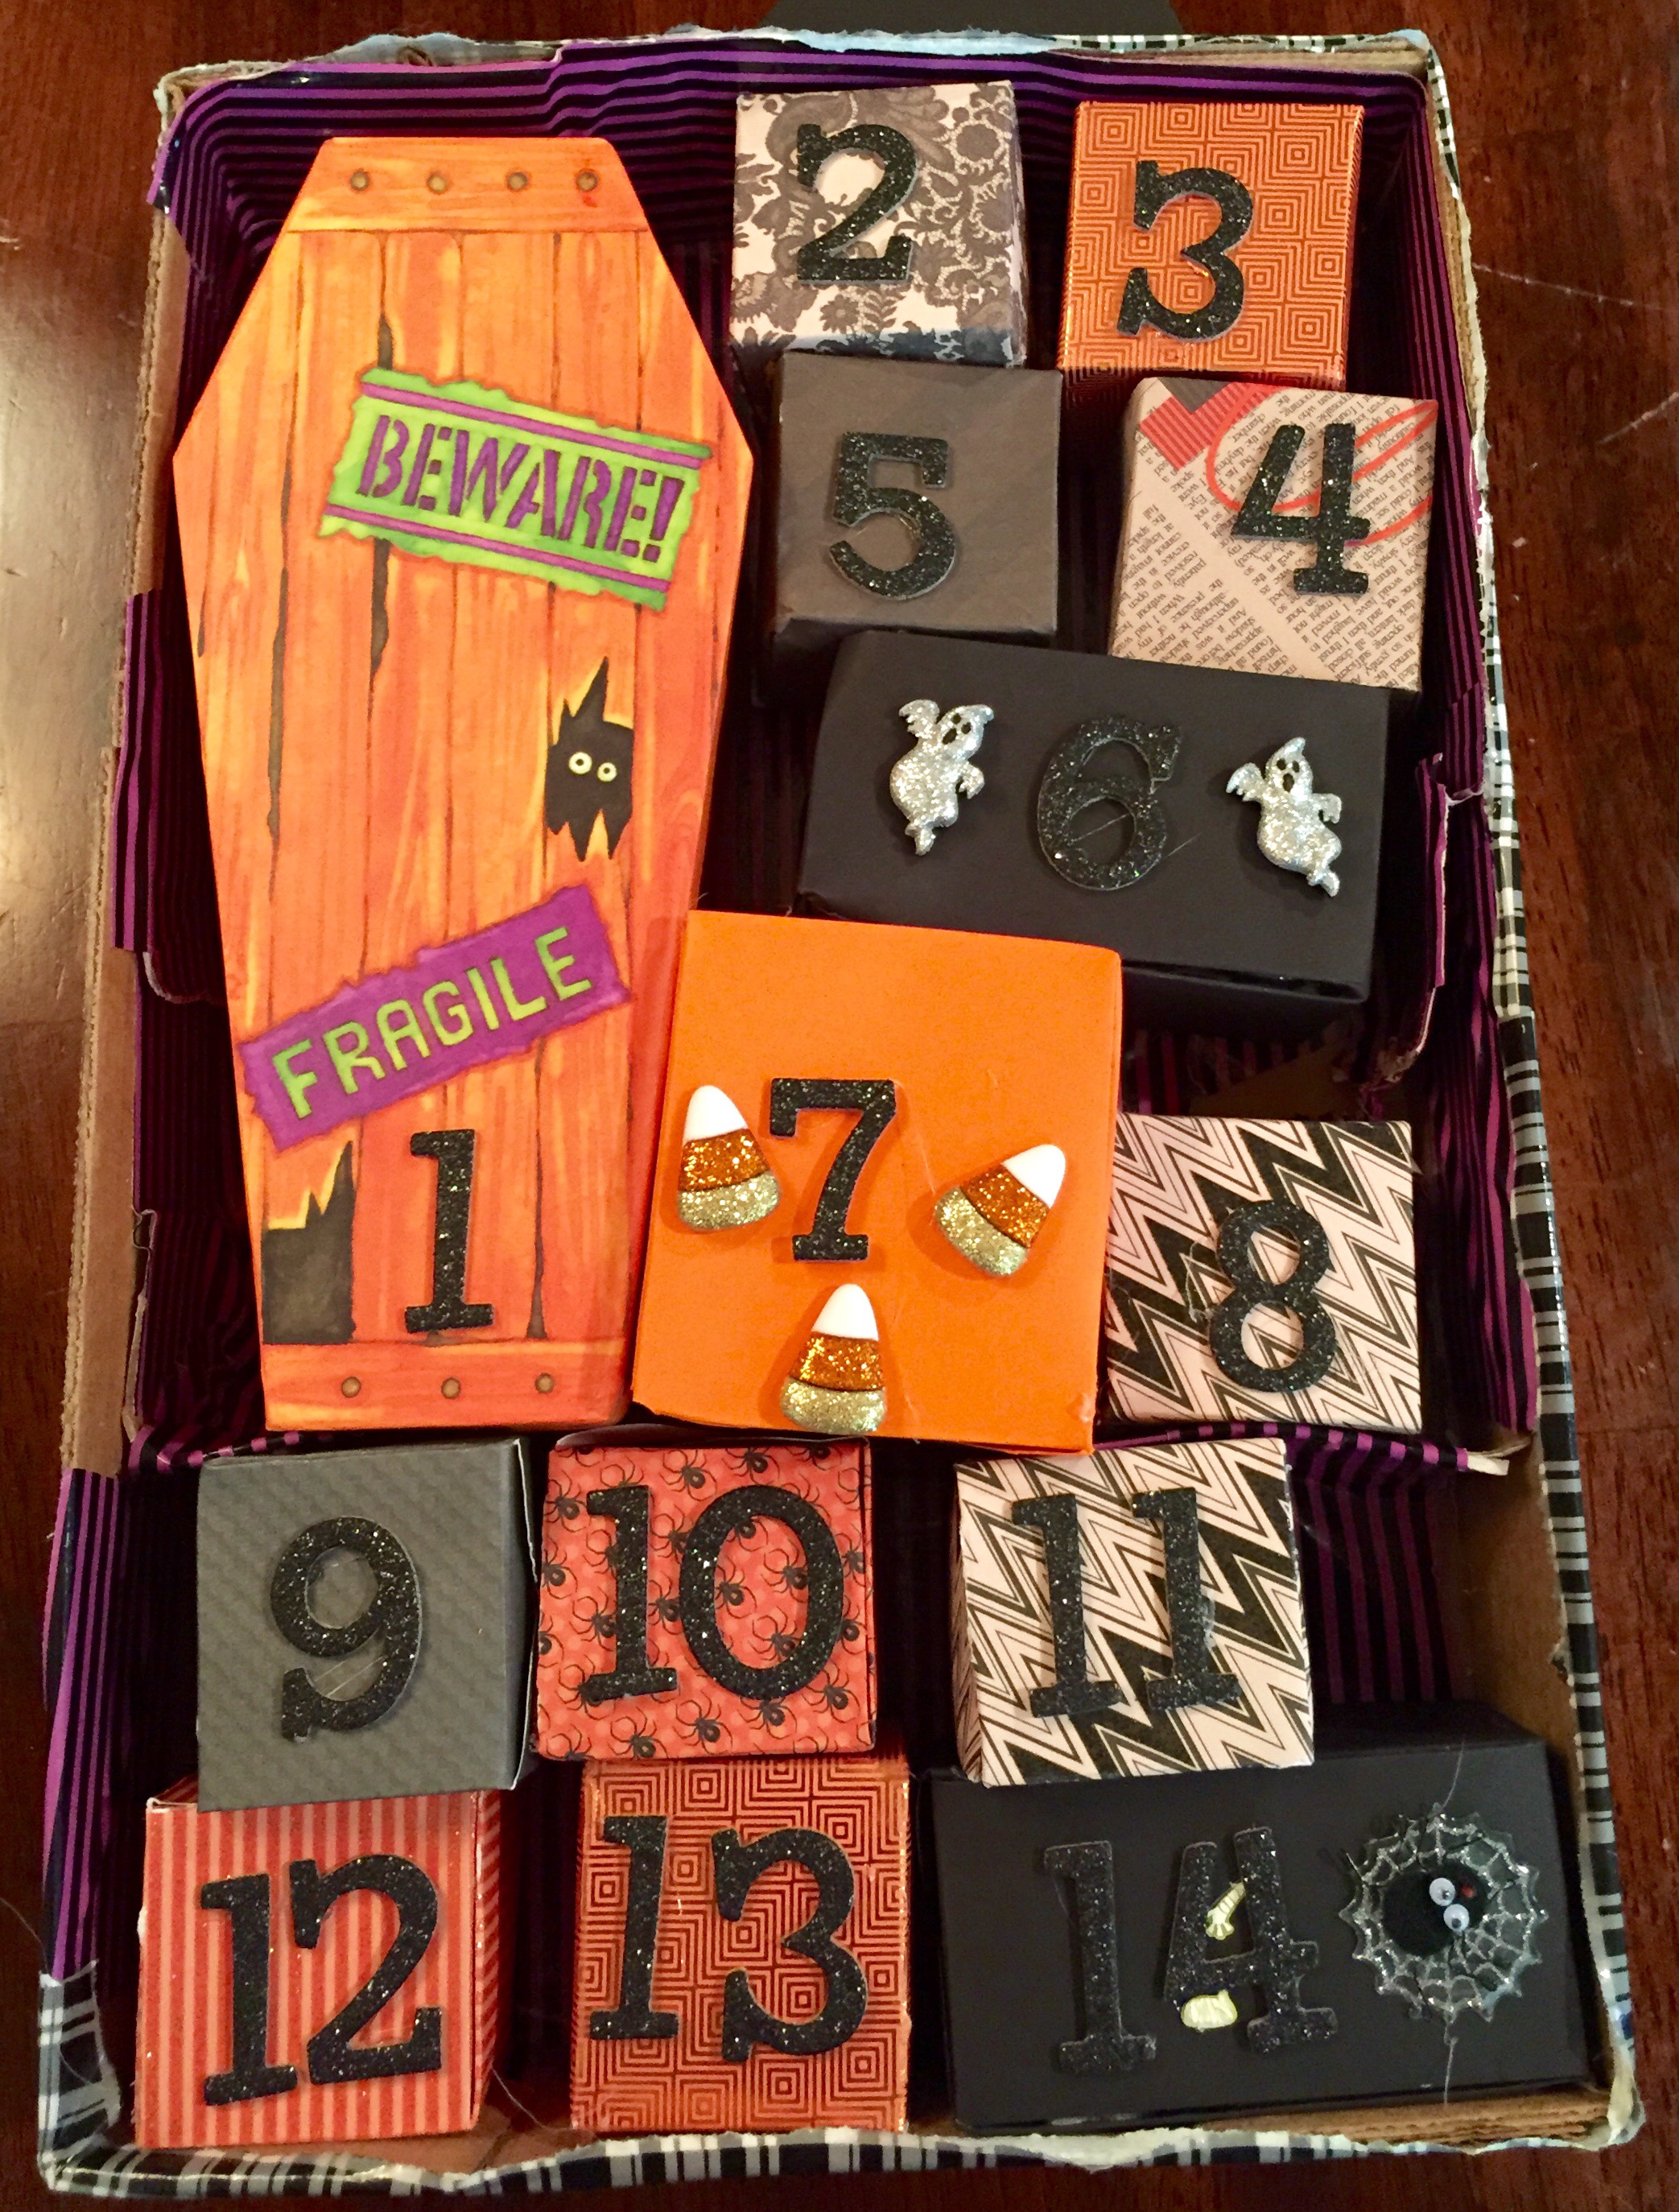
Then we took the cardbox pallet from a case of water and decorated it to look like a haunted house.

With some cool embelishments, black paper and a white colored pencil we made our own nifty haunted house countdown calendar.

I , of course, filled the treat boxes.IMG_2531

Some with candy, some with toys, some with spooky junk.  Now, we are just waiting for October to hurry up and get here!!!!!

And, of course, I am already thinking all about making another one for Christmas and maybe even a New Year’s Eve countdown!  Oh what fun.

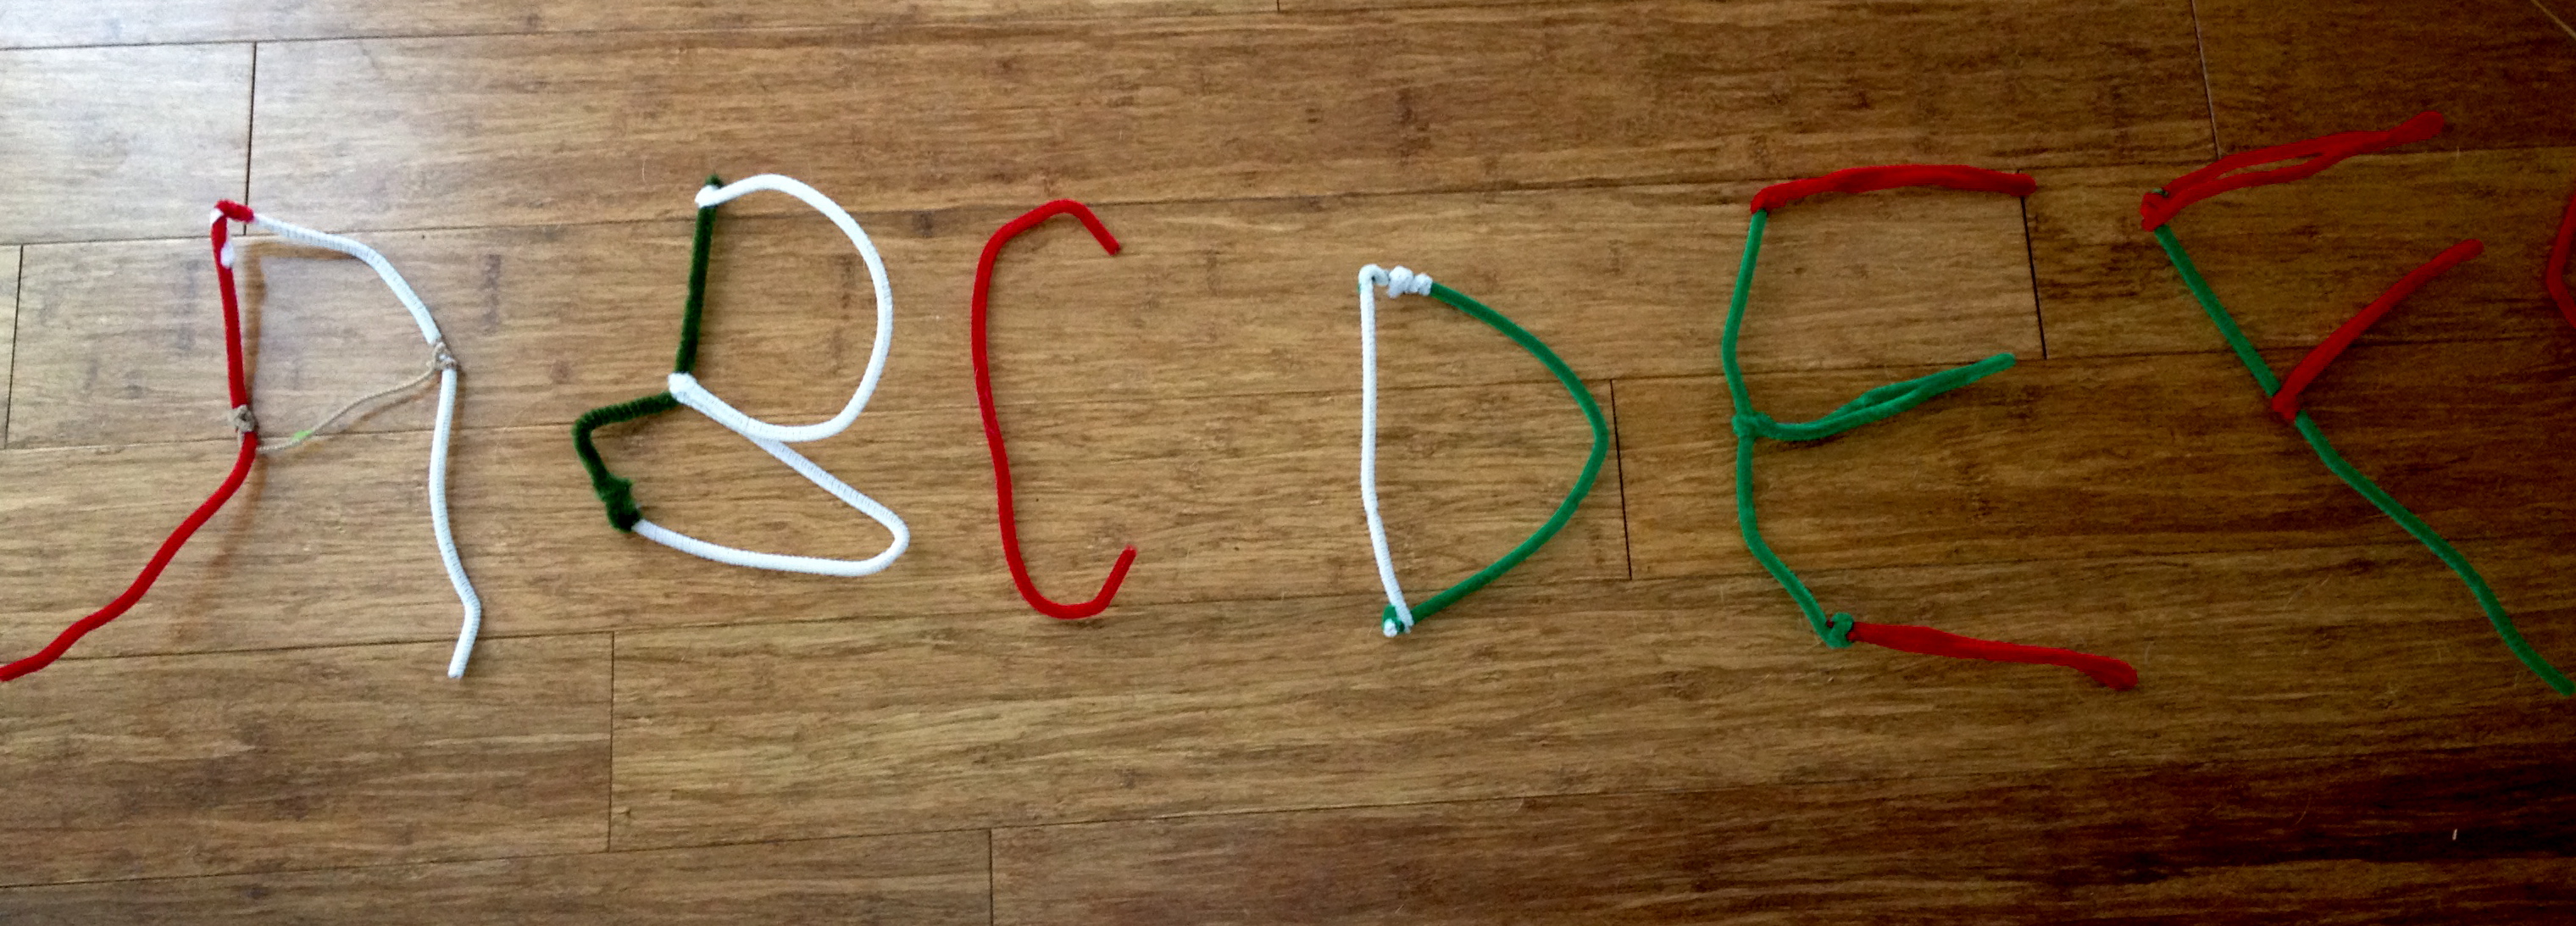
The Princess decorated the horizontal portion ans was obessed with the bone letters!

Leave a comment

Filed under Halloween, Mom Camp 2013

Frozen Day! Mom Camp 24

With Cinco at camp, The Princess and I planned a mom camp day dedicated to Frozen!

20140710-073917.jpg

First thing in the morning, we made popsicle. Don’t ask what I was thinking— I let her put sprite and skittles in the popsicle molds and stuck them in the freezer.

20140710-152630.jpg

Frozen Gummies, Anyone?

We also decided to invite one of her friends over to join in the fun– let’s call her Snowflake from now on. Before Snowflake arrived, we read a Frozen book and I gave The Princess a cute Frozen sticker book to play with while I was at the gym. It seemed to keep her occupied.

We rushed back home to meet Snowflake and let our crafting begin. There are tons of Frozen resources online and some very cleaver ideas.

20140710-074018.jpgI printed out a few items including:

PLUS….

20140710-074006.jpg

Snowflake models her bracelet

After making The Princess and Snowflake each a packet of printables… I got to work on our projects.

20140710-073934.jpg

The Princess’ necklace

Each girl got to create a Frozen inspired piece of jewelry. I gathered a bunch of clear, crystal-like plastic beads. I was concerned the jewelry would look too dull if they only made of “icy” beads. I decided to add a few beads in different shades of blue and threw in a purple or two for good measure.

Snowflake opted to make a bracelet. The Princess decided on a necklace. Both girls looked very fashionable in their creations!

20140710-073950.jpg

Our next craft were a set of Anna and Elsa crowns. I printed both crowns for each girl–no fighting during mom camp! While the crown’s creator suggests using glitter to glamorize the crowns, that as going to be too messy for me. I went out and I got some self adhesive pearls and diamonds to bling out the crowns.

Next, it was time for the popsicle taste test… Everyone agreed they were a bust, BIG TIME! Both girls rejected them and begged for popcorn instead. No problem.

Now it was time to start the movie…within minutes, Snowflake and The Princess were wearing the crowns and singing their hearts out until Snowflake’s mom picked her up.

I’ll count that a successful Frozen Day!

Leave a comment

Filed under Mom Camp 2014

Crafting for a Friend’s FASCINATING Fortieth

What do you get someone turning 40?

20130916-160133.jpg

I was at a bit of a loss. By the time you are 40 you have accumulated a lot of stuff and do really need your friends giving you more things? I think not! That of course leaves booze, spa gift certificate — the usable gifts. But once comsumed what is your friend left with?? A headache in the case of booze or a fleeting moment of relaxation in the case of the spa.

Therefore, Jillian and I teamed up to create a homemade, heartfelt gift for out fabulous, soon-to-be 40, friend Ginger’s Surprise Birthday Party. (Ginger is not her real name– as I am sure you have guessed. But she does have red hair…)

Okay, so what says GINGER? She is very fashion forward. In fact, even before the big royal wedding Ginger was wearing fascinators. Ginger also happens to be a straying member of a book-club I started. Put it all together and you get — drum roll, please….20130916-155901.jpg
A Bookish Fascinator!

Jillian and I got to work. We decided on a book theme and I went off to Goodwill to find a book. The idea was to make paper flowers out of the pages. When I got to Goodwill I started feeling the pages of the books. I was looking for thick paper over content. I did manage to pick up a collection of three Shakespeare plays with relatively strong paper. Other supplies included glitter spray paint, black tulle and some felt over odds and ends from our combined craft kits.

The next day, Jillian came over for an afternoon of crafting. I made the paper flowers.

20130916-165222.jpg The Captain even got in on it and spray painted the glitter on the flowers!

20130916-165342.jpg Meanwhile, Jillian was in charge of all sowing. She made a lovely fabric covered platform for the project and added the tulle.

The best part of the entire project was the hat box that Jillian packaged it all in!

20130916-165705.jpg

Leave a comment

Filed under The Odds and Ends

Button, Button, Who’s Got the Button: Mom Camp Day 19 Lalaloopsy Day!

Now it’s Lalaloopsy Day @ Mom Camp!  (For anyone who doesn’t know, Lalaloopsy is a kids toy/TV Show that features rag dolls come to life–I like to think of it as a hipper Raggedy Ann.)

20130722-130504.jpg

Now, planning an entire mom camp day around this theme was a little bit of a challenge.  The ‘Loopsy girls have button eyes.  So, as you can see I sorta went wild with the button idea.  All sorts of button crafts.

We got up first thing and I tried to make “Button Cakes”– which were pancakes with four strategically placed chocolate chips for the button holes.IMG_2151IMG_2152

The kids thought theses were just great!

I found these cute wooden buttons IMG_2163at a craft store for about 25 cents and the kids were kept busy coloring these while I cleaned up the “Button Cakes”.

Then it was on to button crafts galore!  We started out making button flowers with pipe cleaners buttons and beads.  I know, the beads were sorta cheating—but we had to do what we had to do.   We also made a number of vases with some glitter paper, ribbon and an old pill bottle!

IMG_2155

IMG_2161

Both Cinco and The Princess had a wonderful time completing this craft and The Princess carried her flowers around all day–  Success!

But the button fun didn’t end there….

IMG_2156

We made button hair clips…

IMG_2157

And button bracelets…IMG_2153

And button magnets…IMG_2162

Enough with the buttons already.  We took a small break to watch a movie and let mom clean up the button made mayhem. The Search for Pillow was not exactly a hit with The Princess. She did a lot of complaining this it was “lame”–Ouch.

Don’t worry we also read some of the ‘Loospy girl books, too. Meet the Lalaloopsy Girls, was cute and explain who each on was and what made her special.
Party Time was a cute story about each ‘Loopsy bring something that they made to a fun little party!

I also bought a few of the girls…. I mean how could I resist? And,

Then we ended the Lalaloopsy fest with a bit of coloring…

2 Comments

Filed under Mom Camp 2013

It’s Angry Bird Day, Straight Down to the Undies (Mom Camp Day 13)

IMG_2035Angry Bird Day started fast with a fun cardboard tube craft.  Inspired by Crafts by Amanda we created a few birds of our own.  They are easier to make then they look–and I was working with a four and seven-year old.  If I can do it, you can too!

Supplies:

  • Card Board Tubes
  • Construction Paper
  • Glue Stick
  • Google Eyes (Optional)
  • Sparkle Paper (Optional)
  • Feathers (Optional)

Steps:

IMG_2028

  1. Cut the card board tubes (cut in half if you are using TP and you in either thirds or quarters for a paper towel roll.)
  2. Cut out some colored construction paper (color depends on the bird you are making).
  3. IMG_2029Cut the paper construction paper on the roll.
  4. Cut out the eyes, beaks, eyebrows and glue them on.  (You can also glue on google eyes instead, if you like.) For pigs, cut out a snout. IMG_2032If you want to make a girl bird cut out a bow (two triangles glued to a rectangle in the middle).
  5. Glue on feathers or construction paper to simulate the feathers.  For pigs, cut out the ears.

We even went so far as to design our own versions of Angry Birds and Pigs.  The Princess named her Dazzle, which is perfect!  Plus, I think she’s part of the newest game: Angry Bird-Vegas.  (Just Kidding!) IMG_2041

After all that fun, it was time to clean up so mom had to keep the kiddos occupied with a few worksheets and not so messy games!

For worksheets we turned to:

Quickly, we turned back to the fun and games with a few items I actually broke down and bought!

  • This activity book worked out really well for us. It was more than just a coloring book, because heaven knows we DO NOT NEED ANOTHER COLORING BOOK. Instead, this offers mazes, puzzles, codes, and even a simple math problem or two. What I really loved about this little book is that worked for both the 4 and 7 year-old. It offers games and puzzles with three levels of difficulty, so both kids used the book!
  •  “Play-doh” style Angry Bird kit was hit with both kids.  It comes with three cans of “doh”, two molds, and some heavy cardboard panels.  The kids were able to construct their own angry bird sets and had a blast trying to knock them down.  Plus, I really liked the consistency of the Softee dough better than “play-doh”.
  •  Cinco loved this book. Like the Star Wars Lego books, this one has pages where you have to find the right sticker and fit onto a certain page. There are also pages with scenes that your fill out with stickers. It has tons of character stickers, Darth Maul, Darth Vader, Luke, Leia, Han… It is very much like the Lego sticker books–so if you like them, you will like this.

P.S.  Here are the undies: IMG_2033

1 Comment

Filed under Mom Camp 2013

American Independence Day: Mom Camp Day 12

IMG_2017It’s time to celebrate the 4th of July.  This year we have visitors coming for the days leading up to the 4th so our reading, arts and crafts will be limited.  Oh well.  We have managed to read and create a few fun things for the holiday!

Let’s start with our crafts.

Revolutionary War peg dolls–including our founding father Ben Franklin!

What you need:

Steps:

  1. Gather your clothespins and give them to the kids to color.  We looked at pictures of British Redcoats for inspiration.
  2. Depending of what sort of person you are making, use the glue gun to add embellishments.

IMG_2003

*We made tall bearskin hats for the Redcoats as well.  Cut out a rectangle with rounded edges on one side. IMG_2015 Again, ring the head of the clothespins with glue and glue the flat edge to the head.  You will now have an open cone on the clothespins.  Insert a cotton ball or two (depending on how tall you want your hat to be.).  The cotton ball will make sure the bearskin hat keeps its form and doesn’t collapse.  Fold the top in on itself and glue it closed.

IMG_2019*We made “tricornered hats” by cutting out circles in black construction paper. Then you fold up two sides and ring the “head” of the clothespins with glue and slap it on.

*We also made a colonial girl.  IMG_2004Using fabric scraps we cut out a small circle and glued it onto the head of the clothespins for a bonnet.  Then we added a skirt in the same pattern.  The Princess finished her off by coloring the shirt, face and hair.

IMG_2018*American Revolutionaries can be colored in basic clothes (because most were citizen soldiers and would not have had real uniforms.)  We did add a ‘coon skin cap by cutting a piece of brown pipe cleaner in half and coiling it up.  Make sure to leave a little of the brown at the back of the cap for the tail to dangle down. We also hid them behind the trees like real colonial militia.

*Finally, Ben Franklin!  Ben Franklin CraftRip off part of the cotton ball and glue it on his head for hair.  Next, cut out a construction paper diamond and color it how ever you like!  It’s going to be Ben’s famous kite! Glue the kite to a pipe cleaner and wrap the pipe cleaner around Ben’s waist.  If you want to be really ambitious, like us– just out a key and string it on the pipe cleaner before you tie it around his waist.  You will find that the kite causes Ben not to stand up.  We fixed this by gluing him to a jar lid covered in fabric.

IMG_2016We also recycled the fairy forest into a battle field for the war!

One of our other activities was a cool internet based decoding game provided by the US Park Service Rangers. You have to figure out a revolutionary war cypher as if you were George Washington!  Cinco enjoyed it and I convinced him he was a Revolutionary war spy–Fun and educational.

The Princess also worked a neat 4th of July worksheet set provided by Gift of Curiosity.  The pack says it for kids 2 to 7 and does offer various difficulty levels on the activities (matching, mazes, which one doesn’t belong).  But it was better suited for the 4-year-old than the 7-year-old. I think it’s a little to simple for any one over 6.   But it has great graphics!

2 Comments

Filed under Mom Camp 2013

ABC Pipe Cleaners

IMG_1794Today to help The Princess work on her letters and letter sounds we made pipe cleaner letters. After completing the entire alphabet we played a game with the letters. She had to: find the letter that was called out, the letter that matched the sound or find the letter in between two others. After 15 correct answers she earned on Hershey’s Kiss.

What was great about this game is Cinco really got into it. He was calling out the letters and even added the part about being a letter detective and finding the letter between the other two. He kept score and gave her the rewards.

For the second round of the game, we had The Princess spelled her first and last name.

The whole experience lasted about an hour and 15 minutes before The Princess declared she was finished. All in all she created the letters, answered 30 questions and earned 2 Kisses. (I also slipped Cinco 2 for being such a great teacher!).

Leave a comment

Filed under Kid Time