Tag Archives: Crafts for Boys

Fairies, Fairies Everywhere…. Mom Camp Days 10-13

The summer solstice tradition lives on.  We ate strawberry shortcake for dinner, played with sparklers and glow sticks and the kiddos built their fairy houses again!  The Princess also discovered a new book series  which features lots of fairies including one that shares The Princess’ name. To top it off we watched Epic  which takes place on the Summer Solstice, but doesn’t actually involve fairies.

img_3777
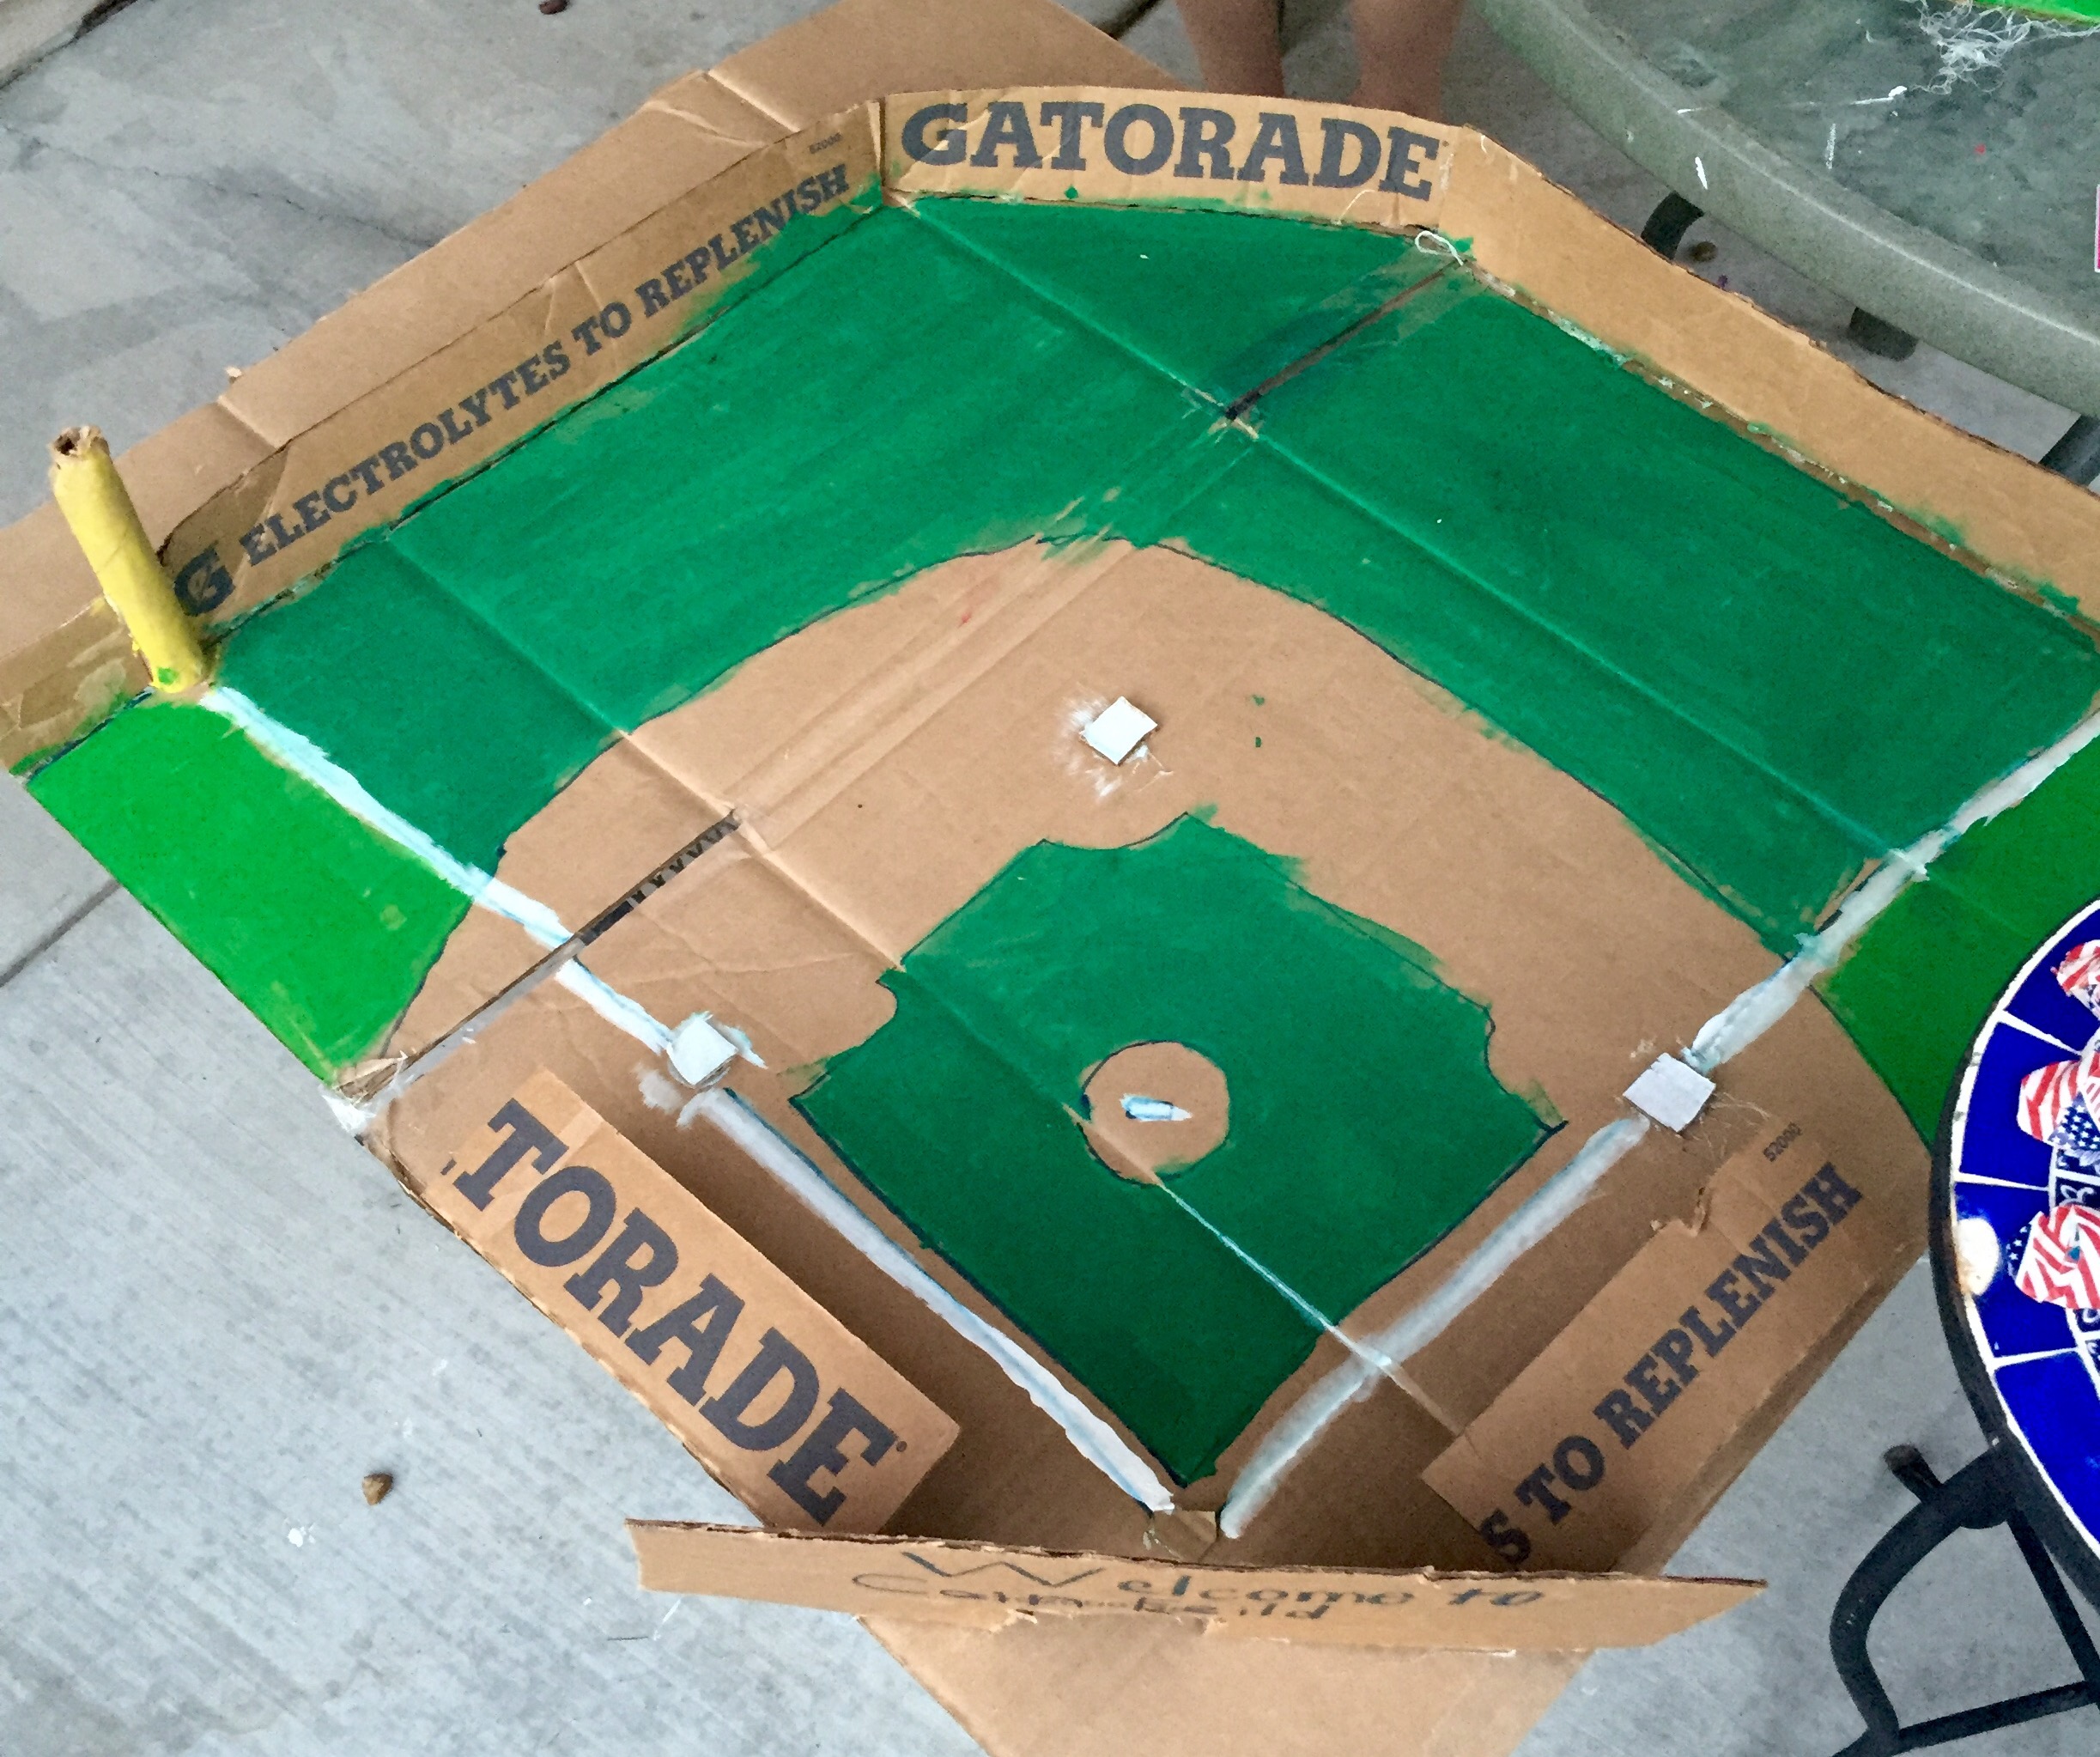
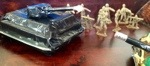
This year Cinco decided on a baseball theme for his fairy creation.  He started with a ball field complete with dugouts and even Gatorade ads on the stadium walls, LOL.img_3778

The following day he built a score board out of craft sticks. img_3781  Next, we made mini baseball caps together. We made two sets of 9 caps each, enough to field two fairy teams.  Cinco and I like the blue cap best because they remind us of the KC Royals.

I have left instructions on how to make your own cap at the end of the blog. Scroll down…

He made mini baseballs out of wooden balls from the craft store and created a makeshift baseball bat. Cinco wants to go so far as to make t-shirts for the fairies, but there was only so much time in the day….  Get that?  The longest day….  only so much time.  What a laugh.


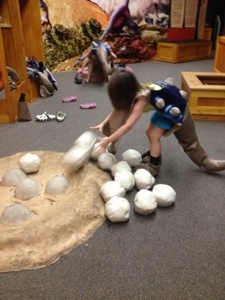
Cinco also needed a fairy house.img_3779  img_3770-2This year the kids wanted to go with more of a nature theme and he decided to create a cave for the fairies.  He covered the entire outside of the cave with stones.
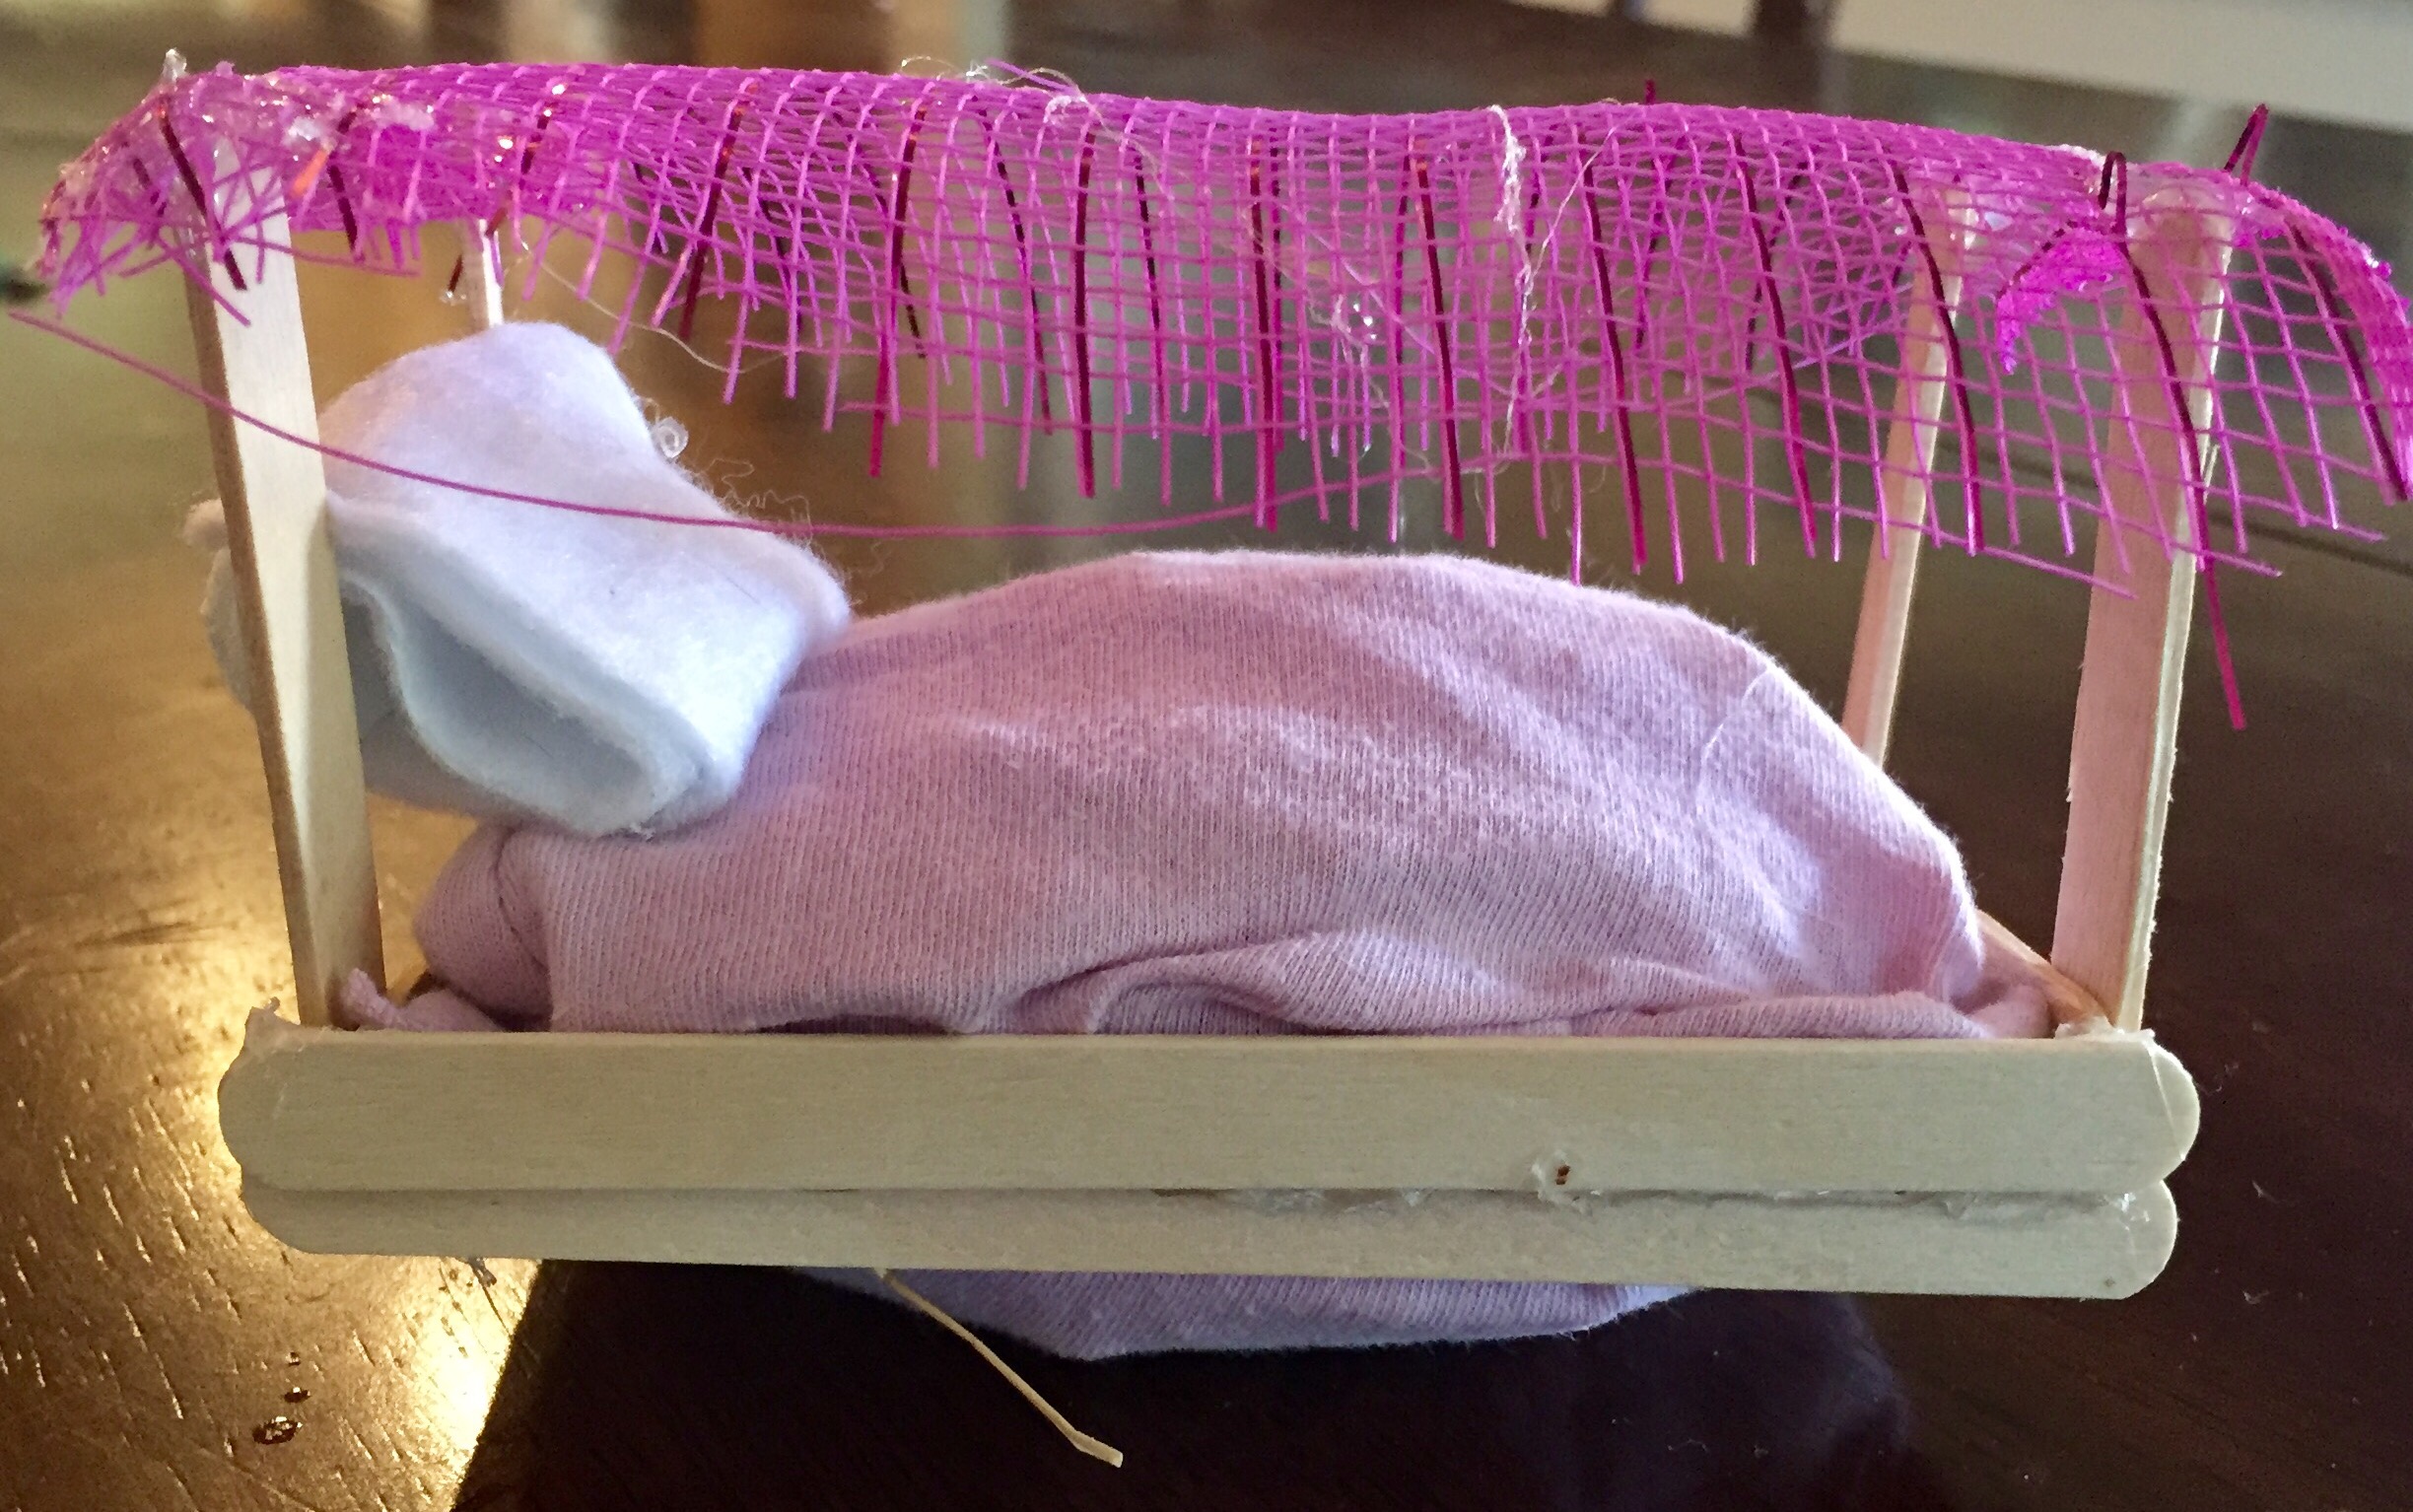
Cinco made a bed from straw and craft sticks as well.


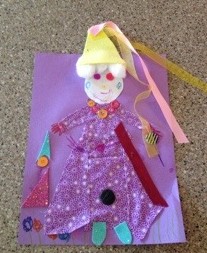
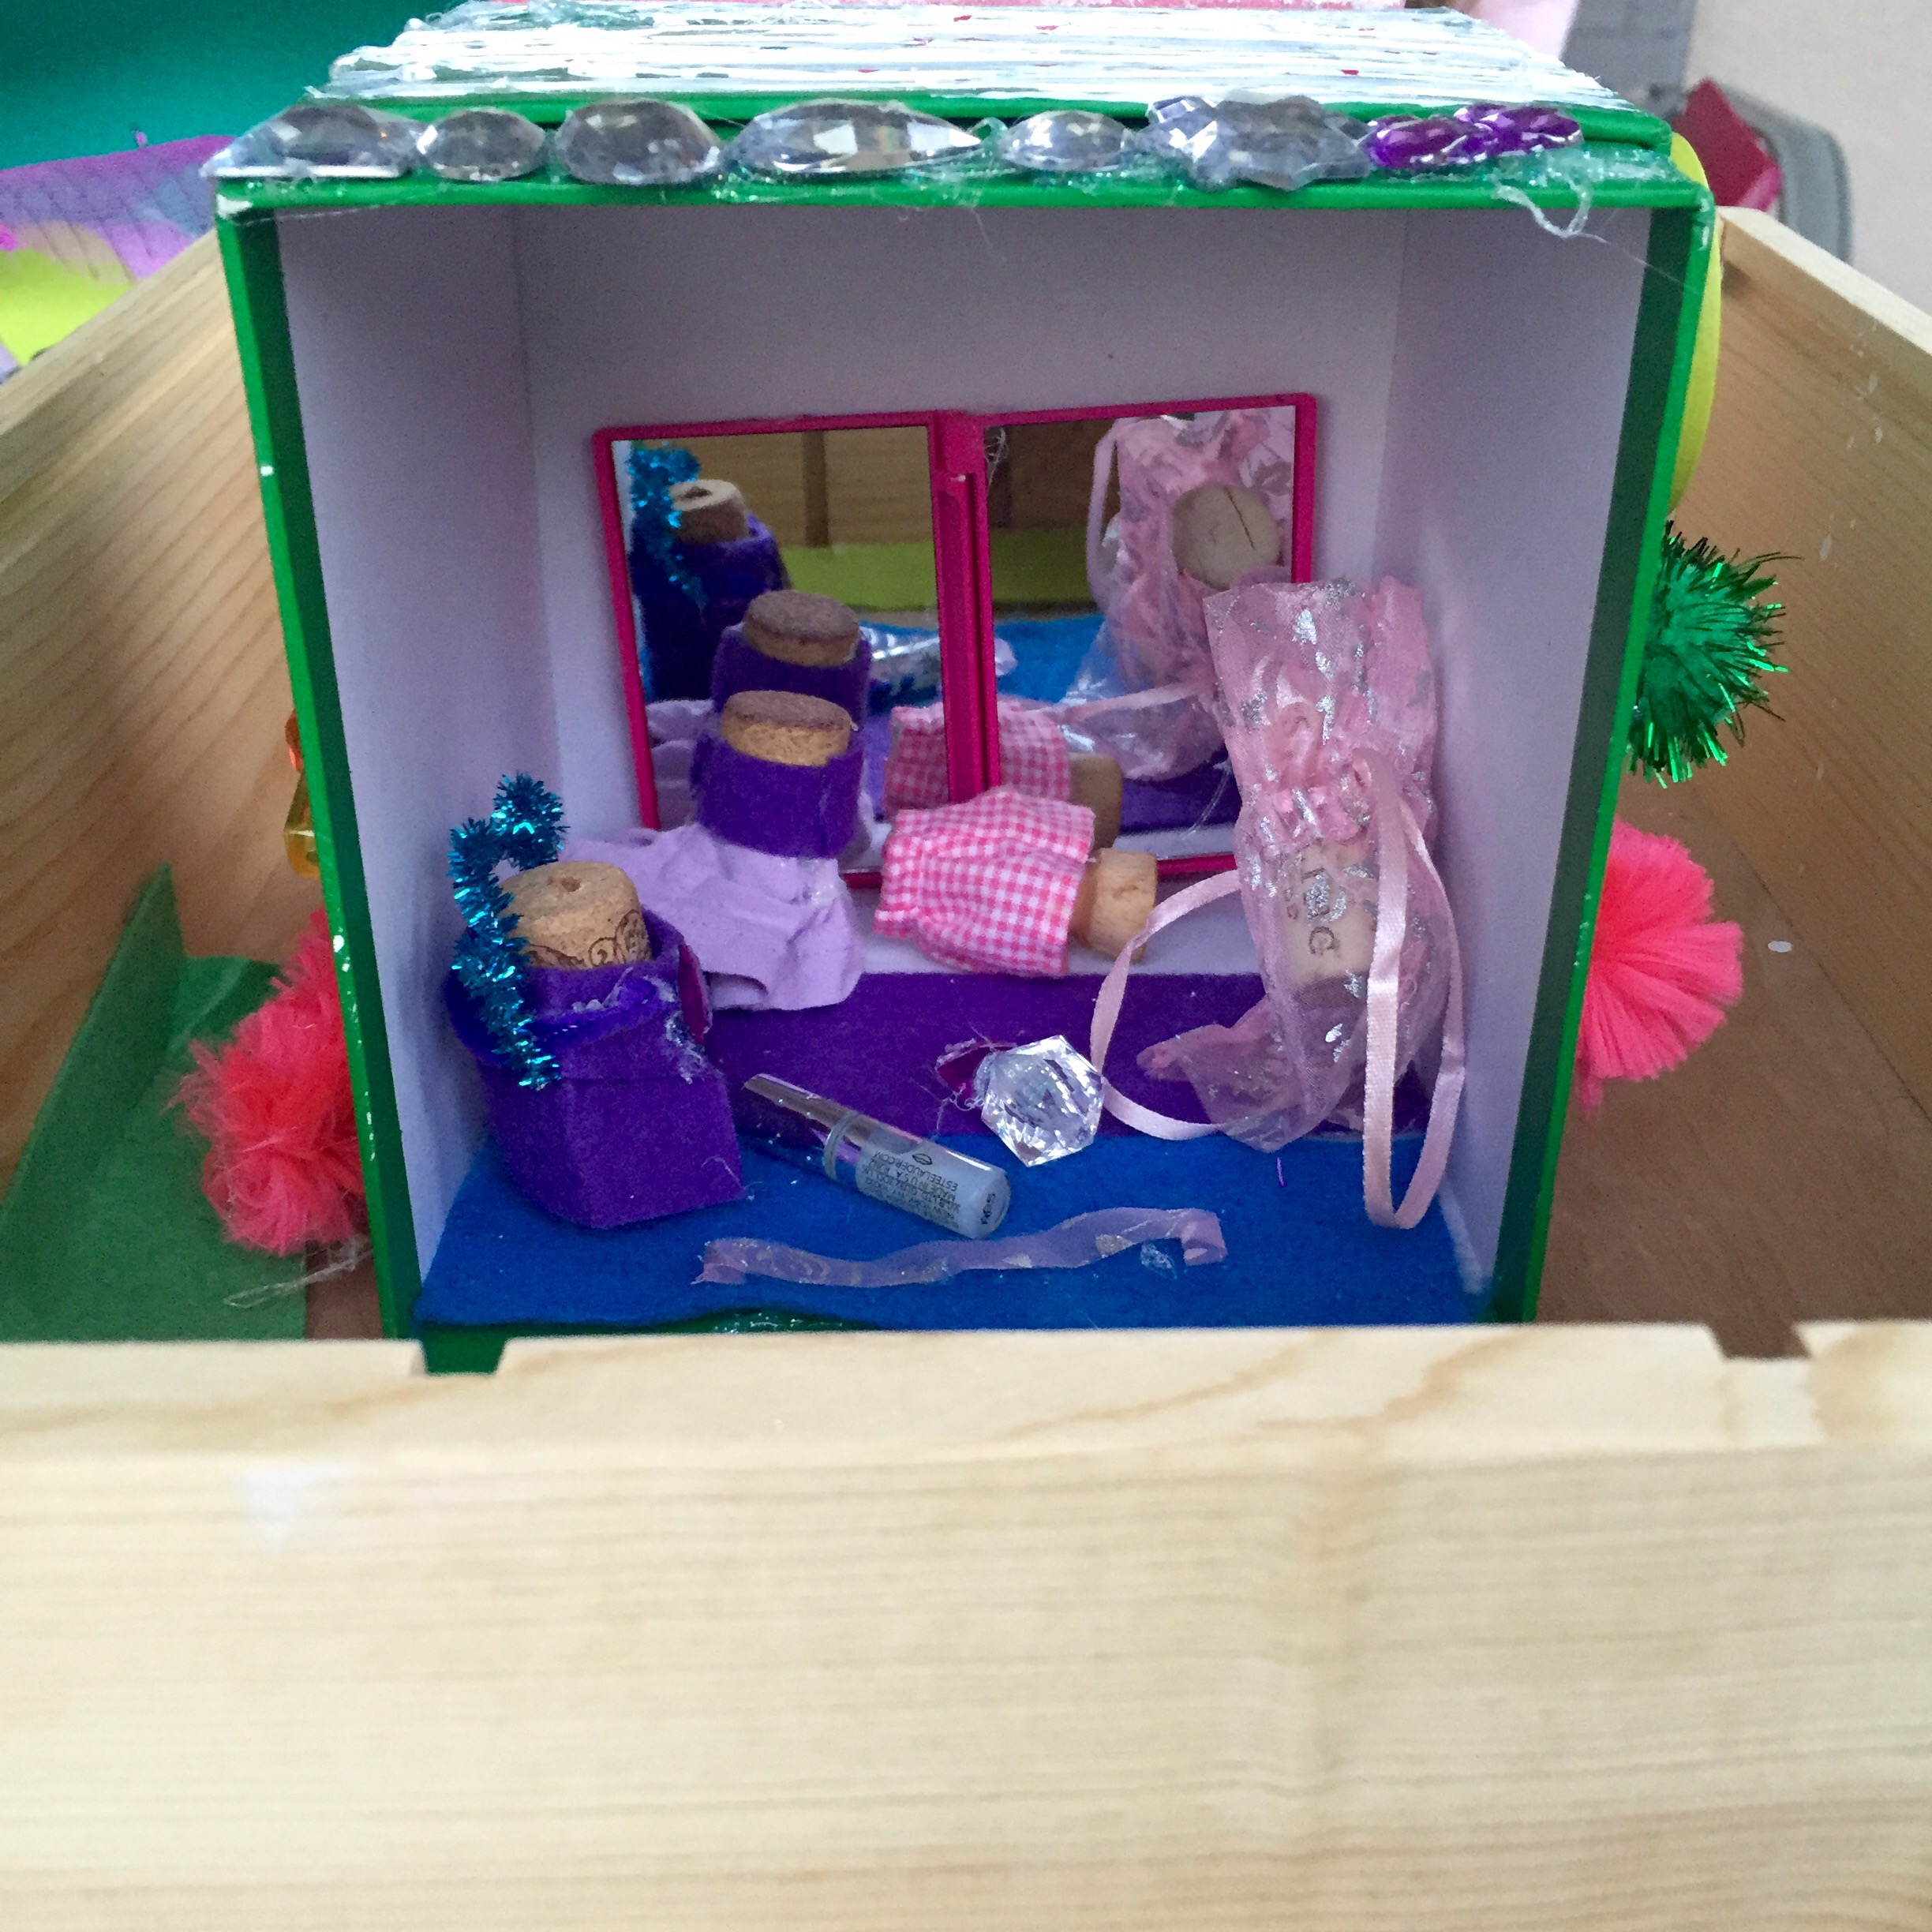
The Princess decide on a glamorous dress shop for the fairies.  We made mini dresses with wine corks as the mannequins. The Princess also added a special fashion mirror for the fairies to try on their dresses.  She also added a pink scarf and some perfume bottles for the fairies.  She really glammed up the dress shop and then went with more of a nature theme for the fairy house.

img_3782The house was lovingly created from an old Go-gurt box.  Rocks and shells added to the nature theme.  The fairies also have an outdoor picnic area complete with mushrooms for stools.

Per usual the kids did a great job and the fairies left a few magical items. The Princess received a magical necklace and Cinco got a sports inspired quidditch necklace .  (If you can believe it, his necklace cost less than $2, including shipping!!!)

The fairies also have an extra special treat this year.  Normally, they spread ice cream sprinkles all over their mini houses. Of course, they did that again.  But they also left milk chocolate sprinkles for the kiddos, .  These are sprinkles commonly eaten in Holland, and were inspired by our trip this summer to see The Dutchman.  I haven’t had these since I was in grade school… and personally, I am looking forward to eating them as well.

To make your own mini baseball cap you will need:

  • bottle caps
  • pom poms
  • duct tape in the color of your choice
  • thin cardboard or cardstock
  • a glue gun

img_3735Start by cutting out a bill for your cap. Hot glue it to the bottle cap.
img_3736Glue a medium pom-pom to the top of the bottle cap. Then carefully cover your hat in duck tape taking care not to tape down the pom-pom too much or you baseball cap will look more like a civil war officer’s hat.


Leave a comment

Filed under Mom Camp 2016

Happy Haunted Halloween Countdown…

IMG_2565

One of my favorite creepy countdown boxes.

Nevada! You have to LOVE a state that joined the Union in the middle of the Civil War on Halloween!!!!  As you can see, we Nevadans take Halloween very seriously.  In fact, it’s a state HOLIDAY!!!!

Years ago at Pottery Barn Kids, I saw this really neat Halloween Countdown Calendar.  Really, I should have bought it.  It was a wooden haunted house with little doors and windows that opened so you could stuff treasures and/or candy inside to countdown the days until Halloween.  I was being cheap at the time and decided to pass it by.  BIG mistake, because all these years later, I am still dreaming of it.

I started searching the Net for something similar and really did not hit on anything that I really liked.  Or sure, they had a few items on Etsy and I did look at this year’s Pottery Barn Calendar (but it was fabric and you just move a little a pumpkin or ghost or some such thing to a new pocket each day).

IMG_2560Now to make our own!  Cinco and the Princess were immediately up for the challenge.  They LOVE to find old junk and try to make it into a craft.  Our first stop was Michael’s to see what we could get in the way of decorative items and or boxes to put our Halloween treats in.  I looked up DIY Christmas advent calendars to get some ideas. Several were very elaborate and well beyond our skill levels.  But, one suggested getting little wedding party favor boxes and stuffing those.  I liked this idea and was going to act on it.  But, then Queen Gram intervened.

Thank goodness we brought Queen Gram with us to the store because she found my new favorite toy a box maker!   IMG_2527Okay, super crafters may already know about this. But, I just found out about it and I LOVE IT.  We were able to make boxes in several sizes using some fun, decorative Halloween paper!

 
A few of my favorite boxes included:

Love the Creepy Google Eye and the Mummy coming out of the zeros!!!

IMG_2533

Haunted House designed by Cinco!

Then we took the cardbox pallet from a case of water and decorated it to look like a haunted house.

With some cool embelishments, black paper and a white colored pencil we made our own nifty haunted house countdown calendar.

I , of course, filled the treat boxes.IMG_2531

Some with candy, some with toys, some with spooky junk.  Now, we are just waiting for October to hurry up and get here!!!!!

And, of course, I am already thinking all about making another one for Christmas and maybe even a New Year’s Eve countdown!  Oh what fun.

The Princess decorated the horizontal portion ans was obessed with the bone letters!

Leave a comment

Filed under Halloween, Mom Camp 2013

Mom Camp Day 33: Water Day Part Two!

20140812-083836.jpg

We took a trip back to the Las Vegas Natural History Museum to take a look at some more sea creatures. This time the focus was on the new Seahorses they have added.

I could have stood looking at them all day. Cinco and the Princess liked them as well, but not as much as I did!!!

Then is was back to the pool for more swimming practice, not exactly glamorous, but necessary!

Back at home we reading again. A bunch of aquatic books.

Leave a comment

Filed under Mom Camp 2014

Dino Day Part 2: Mom Camp Day 31

20140731-165730.jpg
There was simply too much to do in only one day of Dinos so we added a second day. After all, who can say no to Dinos.

We started off with several of PBS’ Dinosaur Train episodes that we watched on Netflix.

Then it was time for a little learning. We consulted a number of dinosaur books laying around the20140731-170105.jpg house. The family favorite turned out to be an old 3D T-Rex book. We enjoyed a pseudo dissection of a T-Rex. The book took us about an hour to get through as it had little activities and experiments to do in each section. We measured out 40 feet to understand the scale of the T-Rex. We also conducted balancing exercises to learn how the T-Rex made use of it’s tail. You get the idea.

20140731-214701.jpgWe took the left over wooden frames from the wooden Dinos we made and used them as stencils. The 20140731-214729.jpgkids used all the different body parts in both ‘stencils’ to create their own new dinosaurs and color them in.


Then we embarked on making our own wearable Dino feet, too. Here’s what you need:

  • Cardboard (I used a Costco sized cereal box and that was enough for both kids or two pairs of Dino feet)
  • Paints
  • Scissors
  • Glue
  • Paper Towel Tubes
  • Feathers (optional)
  • Hot Glue Gun

Step 1: 20140731-170702.jpgHave the kids draw an outline of Dino feet on the cardboard. You can use a show to draw around to make sure the foot dino is large enough to wear.

Step 2: Cut out the feet. Depending on the age and skill of your child, you may want to do this yourself.

Step 3: Cut the paper towel tube length wise. You will glue these onto the feet so the kids can slip on the feet.

20140810-194408.jpgStep 4: Let the kids paint the Dino feet. Both kids enjoyed this part and used their creativity.

Step 5: Glue the long strips of paper towel tube onto the feet, making a slip-on for the kids.

Optional Step 6: Glue a few feathers onto the Dino feet. Let the kids choose the placement. I like a few coming off the back, but adding them to the sides or drought is fine too.

This helps the kids understand that scientists are starting to believe some Dino’s beyond those that fly maybe have had feathers…

Have fun playing!


Leave a comment

Filed under Mom Camp 2014

Let the Dinosaurs Roar: Mom Camp Days 30

20140729-170743.jpg

After all the traveling and the days of real camp, Mom Camp is back in business.  The kids actually complained that they have been too busy this summer and that they haven’t gotten enough “TRUE MOM CAMP” days.  To be fair, we have been doing a LOT of other things and our traditional mom camp activities have taken a backseat.

We all agreed on getting back on track with a few days dedicated to our favorite prehistoric pals, Dinos!

20140731-153637.jpg We started the day off with some arts and crafts.  Even before school gets out I am on the look out for anything I can use during mom camp.  I got the wooden dino puzzles from the Target dollar section and the fold your own dino kit from Michael’s.  20140731-154403.jpgBoth sets were easy for Cinco and the Princess to put together and provided plenty of entertainment.  They not only assembled the kits, but then enjoyed some play acting with the toys that they created.

20140731-153656.jpgNext, we attempted to make our own dino fossils.  On pinterest I found a recipe using coffee grounds, salt and flour to make a sort of cement.  I was surprised to find I had no flour in the house, so in my typical mom camp way, I substituted pancake mix for flour.  I am not saying that definitely ruined the mix,20140731-155701.jpg but our mix simply did not “pan-out” the way it should have.  It was a shame because we gathered some really fun items to make into fossils.  We were going to use a glow in the dark dino skeleton head and bone-shaped dog treats to make the impressions.

20140731-153847.jpgThe kids were somewhat disappointed by the failed attempt so it was time to hit our local natural history museum. They have a pretty elaborate room dedicated to large-scale dinosaur models.

20140731-153739.jpgPlus, the museum hosts traveling exhibits every few months.  It just so happened we got lucky and the current exhibit was all about dinosaur eggs!  Lucky us.  I didn’t even plan it that way…although the kids thought I did.  Shhhhhh….. don’ tell them.

There were a number actual fossilized eggs on display.  Additionally, there were tons of hands on experiences for the children.  Lots of displays for them to touch so they could get the feel for the texture of the eggs.  They learned that different dinosaurs had eggs with different shapes: some oblong, others more oval, some large, some small.

20140731-153757.jpgThe Princess and Cinco also had the opportunity dress up in dino costumes.   There were two sets and one of them even had feather on costume, which was fun! They spent quite awhile in that section of the museum laughing and playing at being dinosaurs.  20140731-153824.jpgThey wiggled the dino tales and played in the dino nests.

We also played a few of the computer games set up at the exhibit.  Cinco and I played dino hangman and The Princess made a series of cute little dino pictures.20140731-153903.jpg

All and all a productive day!


Leave a comment

July 30, 2014 · 12:07 am

Mom Camp Day 2: Operation Dynamo

One of the places we plan to visit on the trip is Dover Castle. Of course, it was built by King Henry II and the inside of the castle is restored to his time period—so it looks like it would have when William Marshal was alive:
Shameless Plug for my Book Again: See more here.

20140530-090355.jpg

But, Dover is also where the British came when they were fleeing Dunkirk during the fall of France in WWII. To educate the kids on this, I found an amazing book called The Little Ships by Louise Borden. The story is from the point of view of a girl who goes with her father to help rescue soldiers from Dunkirk. It is well told and appeals to children because of the main character. The author also provides a good afterword on the history of the experience.

I find the evacuation to be one of the most compelling stories of WWII and British resolve. I know many people look to the Battle of Britain. And, that is an amazing story of fortitude as well. But, for me Dunkirk is fantastic because it is a moment when people have to come together and help each other make the best of a bad situation. It also teaches the lesson to fight on, even when you think you have lost because you never know what happen. This is a theme in my King Alfred book as well. (Shameless Plug)

After reading the book, we made our own WWII tanks.  We started with some very simple items: 20140530-090312.jpg

  •  A used Keurig coffee pod
  • A Q-Tip
  • A small pencil
  • Camouflage tape from the dollar store
  • Black Duck Tape
  • A used berry container
  • Scissors
  • Little Green Army Men (Optional)

20140530-090341.jpgStep 1:  Clean out the coffee pod and cut in half.  Keep the bottom portion and throw away the top ring.  Cover the cut-down pod in camo tape.

20140530-090333.jpgStep 2: Clean out the berry container.   Flip it upside down so that the container looks more like a tank.  Cut a round hole in the top of the container.  We made a hole large enough to put small green arm men inside the tank.  (If you plan to put men in your tank, make sure not to tape the berry container shut.  Getting them out of the hole can be tough.  It is easier to just open the container.)    Next, cover the container in camo or black tape (We used two types of tape to represent two different armies.  The Nazi’s were black).

Step 3: Attach the taped coffee pod, making sure it fits over the hole on the top of the tank.  Place a thin strip of tape on the inside of the pod and tank and he outside of the pod and tank to fully secure the pod.

Step 4: Cover either the Q-tip or small pencil in tape.  This will be your gun.  Once it is covered, punch a small hole through the middle front of the tank using the tip of a pair of scissors.  Tape the gun in place.

20140530-090417.jpg

Step 5: Have fun playing with your homemade tank!

Finally, we completed a two-page worksheet I made on Dunkirk. Page one is a quick explanation of the event. Page two is a simple chart of the number of troops rescued each day. You can get a copy of the worksheet here: Dunkirk Worksheet and Graph.

20140530-090648.jpg


Leave a comment

Filed under Mom Camp 2014, Mom Camp International-- Great Britain

Mom Camp Day 27: Knights and Princesses

20130814-162022.jpgAfter a family vacation, its time to start good ol’ Mom Camp again.  The original plan was to have two or three days for our Knight and Princess theme.  But, with school just around the corner and so much to do before it starts, we had to squeeze things into a single day.

20130814-162110.jpgWe made three crafts. The Princess wanted wands. I found these at the Dollar Store and saved them.  She didn’t add too much decoration, but she was happy with them…

20130814-162044.jpg20130814-162038.jpgNext we made these cute little princess and knight crafts.  The idea came from Busy Bee Crafts. Although we made up the princess craft ourselves.  We used some left over fabric, glitter sticker sheets, cotton balls and buttons.  The Princess needed a little help getting started, but Cinco made his knight without any help!

20130814-162029.jpg
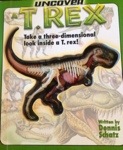
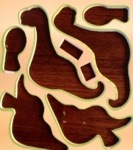
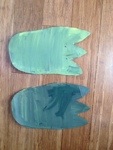
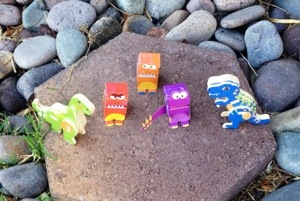
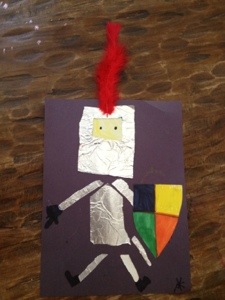
The next craft was a dragon!  The idea for this one was borrowed from Activity Village. It was originally supposed to be a dragon made from a wooden spoon.  Sadly, I didn’t get the chance to buy any wooden spoons so wemodified the craft and used plastic ones.  The kids still had a great time painting and designing the dragons.

For our reading, we have been listening to in the car. The audio version is abridged. But, it is read by Rob Reiner, which is kinda cool. Thank heaven it’s been keeping the kids quite in the backseat as we do our chores! As aside note, they have yet t actually watch themovie!

Cinco also spent a lot of time reading a Choose-Your-Own Adventure style book about knights.

Our movie was: The film as recently been released on DVD. I loved it as a kid and it’s a great way to talk the kids about the Magna Carta. (Have I mentioned that ever summer I plan to do a Magna Carta Day for Mom Camp and ever summer, I miss it? If I ever get to Magna Carta Day, we will be watching this again.)

Update: I did do a Magna Carta Day….

Leave a comment

Filed under Mom Camp 2013

Mom Camp Day 18: Despicable Me!

At the Movies, 2013 | Despicable Me 2

At the Movies, 2013 | Despicable Me 2 (Photo credit: e r j k p r u n c z y k)

IMG_2148The Captain was sick today and spent the whole day in bed–poor lovey!  So, I was left with the two munchkins. The plan was to hit the pool for the day, but it seems the weather was a bit cloudy with a chance of meatballs.  Thus, indoor activities took over!

Okay so, I kinda over did it with TV and movies but what are hot, humid, rainy days for if you cannot watch too much TV?

I ran off to a Bikram yoga class while the kiddos watched .

Then a quick shower, quick lunch and off to Despicable Me 2.  The kids really love the minions– although they call the characters the be-doe-be-doe-be-does.  If you have seen the preview for the second movie, you know what I am talking about.   Until about 2 weeks ago, the kids had never seen the first Despicable Me.  I thought it seemed a bit violent.  But I borrowed the movie from a friend and they LOVED it.  Plus, they loved the be-d0e-be-d0e-be-doe preview, so I caved!

After the movie we made our own little minions.  I thought painting wine corks would be a good idea and Cinco thought covering them in construction paper was a better idea.  I have to agree– his idea won! IMG_2150

IMG_2149

1 Comment

Filed under Mom Camp 2013

It’s Angry Bird Day, Straight Down to the Undies (Mom Camp Day 13)

IMG_2035Angry Bird Day started fast with a fun cardboard tube craft.  Inspired by Crafts by Amanda we created a few birds of our own.  They are easier to make then they look–and I was working with a four and seven-year old.  If I can do it, you can too!

Supplies:

  • Card Board Tubes
  • Construction Paper
  • Glue Stick
  • Google Eyes (Optional)
  • Sparkle Paper (Optional)
  • Feathers (Optional)

Steps:

IMG_2028

  1. Cut the card board tubes (cut in half if you are using TP and you in either thirds or quarters for a paper towel roll.)
  2. Cut out some colored construction paper (color depends on the bird you are making).
  3. IMG_2029Cut the paper construction paper on the roll.
  4. Cut out the eyes, beaks, eyebrows and glue them on.  (You can also glue on google eyes instead, if you like.) For pigs, cut out a snout. IMG_2032If you want to make a girl bird cut out a bow (two triangles glued to a rectangle in the middle).
  5. Glue on feathers or construction paper to simulate the feathers.  For pigs, cut out the ears.

We even went so far as to design our own versions of Angry Birds and Pigs.  The Princess named her Dazzle, which is perfect!  Plus, I think she’s part of the newest game: Angry Bird-Vegas.  (Just Kidding!) IMG_2041

After all that fun, it was time to clean up so mom had to keep the kiddos occupied with a few worksheets and not so messy games!

For worksheets we turned to:

Quickly, we turned back to the fun and games with a few items I actually broke down and bought!

  • This activity book worked out really well for us. It was more than just a coloring book, because heaven knows we DO NOT NEED ANOTHER COLORING BOOK. Instead, this offers mazes, puzzles, codes, and even a simple math problem or two. What I really loved about this little book is that worked for both the 4 and 7 year-old. It offers games and puzzles with three levels of difficulty, so both kids used the book!
  •  “Play-doh” style Angry Bird kit was hit with both kids.  It comes with three cans of “doh”, two molds, and some heavy cardboard panels.  The kids were able to construct their own angry bird sets and had a blast trying to knock them down.  Plus, I really liked the consistency of the Softee dough better than “play-doh”.
  •  Cinco loved this book. Like the Star Wars Lego books, this one has pages where you have to find the right sticker and fit onto a certain page. There are also pages with scenes that your fill out with stickers. It has tons of character stickers, Darth Maul, Darth Vader, Luke, Leia, Han… It is very much like the Lego sticker books–so if you like them, you will like this.

P.S.  Here are the undies: IMG_2033

1 Comment

Filed under Mom Camp 2013

American Independence Day: Mom Camp Day 12

IMG_2017It’s time to celebrate the 4th of July.  This year we have visitors coming for the days leading up to the 4th so our reading, arts and crafts will be limited.  Oh well.  We have managed to read and create a few fun things for the holiday!

Let’s start with our crafts.

Revolutionary War peg dolls–including our founding father Ben Franklin!

What you need:

Steps:

  1. Gather your clothespins and give them to the kids to color.  We looked at pictures of British Redcoats for inspiration.
  2. Depending of what sort of person you are making, use the glue gun to add embellishments.

IMG_2003

*We made tall bearskin hats for the Redcoats as well.  Cut out a rectangle with rounded edges on one side. IMG_2015 Again, ring the head of the clothespins with glue and glue the flat edge to the head.  You will now have an open cone on the clothespins.  Insert a cotton ball or two (depending on how tall you want your hat to be.).  The cotton ball will make sure the bearskin hat keeps its form and doesn’t collapse.  Fold the top in on itself and glue it closed.

IMG_2019*We made “tricornered hats” by cutting out circles in black construction paper. Then you fold up two sides and ring the “head” of the clothespins with glue and slap it on.

*We also made a colonial girl.  IMG_2004Using fabric scraps we cut out a small circle and glued it onto the head of the clothespins for a bonnet.  Then we added a skirt in the same pattern.  The Princess finished her off by coloring the shirt, face and hair.

IMG_2018*American Revolutionaries can be colored in basic clothes (because most were citizen soldiers and would not have had real uniforms.)  We did add a ‘coon skin cap by cutting a piece of brown pipe cleaner in half and coiling it up.  Make sure to leave a little of the brown at the back of the cap for the tail to dangle down. We also hid them behind the trees like real colonial militia.

*Finally, Ben Franklin!  Ben Franklin CraftRip off part of the cotton ball and glue it on his head for hair.  Next, cut out a construction paper diamond and color it how ever you like!  It’s going to be Ben’s famous kite! Glue the kite to a pipe cleaner and wrap the pipe cleaner around Ben’s waist.  If you want to be really ambitious, like us– just out a key and string it on the pipe cleaner before you tie it around his waist.  You will find that the kite causes Ben not to stand up.  We fixed this by gluing him to a jar lid covered in fabric.

IMG_2016We also recycled the fairy forest into a battle field for the war!

One of our other activities was a cool internet based decoding game provided by the US Park Service Rangers. You have to figure out a revolutionary war cypher as if you were George Washington!  Cinco enjoyed it and I convinced him he was a Revolutionary war spy–Fun and educational.

The Princess also worked a neat 4th of July worksheet set provided by Gift of Curiosity.  The pack says it for kids 2 to 7 and does offer various difficulty levels on the activities (matching, mazes, which one doesn’t belong).  But it was better suited for the 4-year-old than the 7-year-old. I think it’s a little to simple for any one over 6.   But it has great graphics!

2 Comments

Filed under Mom Camp 2013